Transplant
Introduction
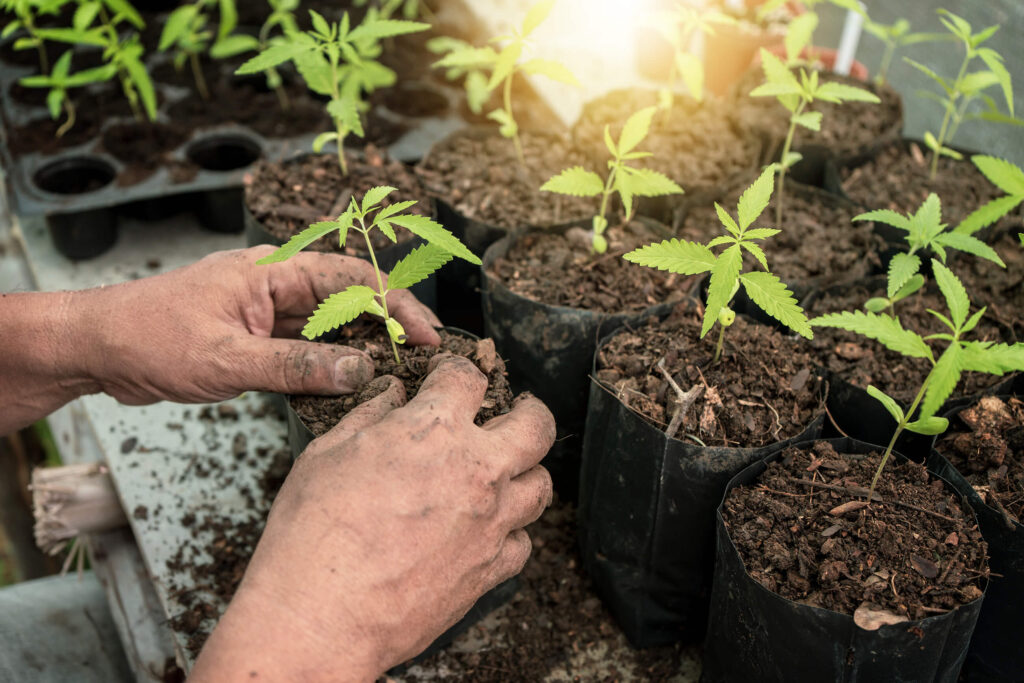
Transplanting cannabis seedlings is one of the most delicate operations in the cultivation cycle. Done correctly, it gives your plants the space they need to develop a strong root system without interruption. Done poorly, it can cause transplant shock that sets growth back by days or even weeks. This guide walks you through when to transplant, how to prepare, and how to execute the move with minimal stress to your plants.
Why Transplanting Matters
Cannabis roots need space to grow. When a plant outgrows its container, the roots begin to circle the walls — a condition known as being rootbound. A rootbound plant cannot uptake water and nutrients efficiently, growth stalls, and deficiencies may appear even when feeding is correct. Transplanting into a larger container at the right moment allows the root system to expand freely, directly translating into faster vegetative growth and larger yields at harvest.
When to Transplant
Timing is critical. Transplant too early and the small root ball may fall apart when removed from the container. Transplant too late and the plant is already stressed from being rootbound. Look for these signals:
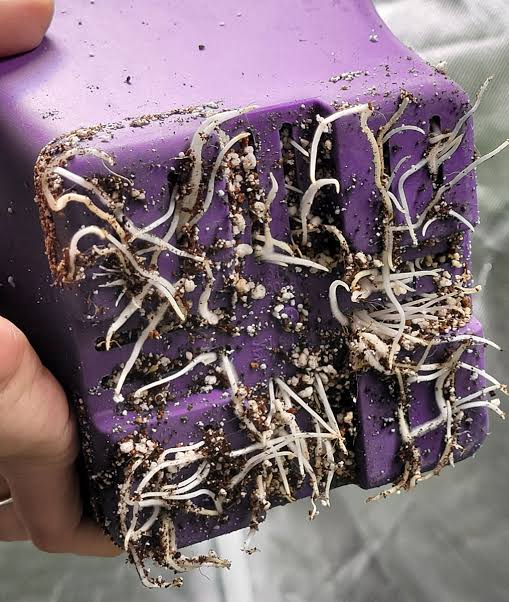
- Roots emerging from drainage holes: a clear sign the plant has filled its current container.
- Rapid water uptake: if the pot dries out significantly faster than usual, roots have likely colonized all available substrate.
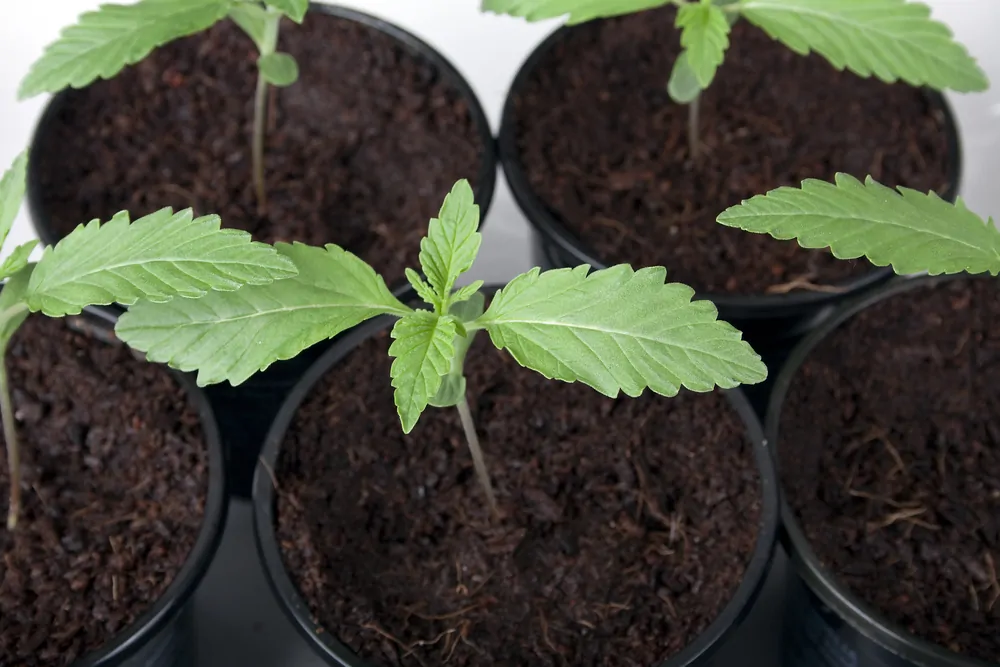
- Canopy size relative to pot size: a general rule of thumb is to transplant when the plant's canopy is roughly twice the diameter of the pot.
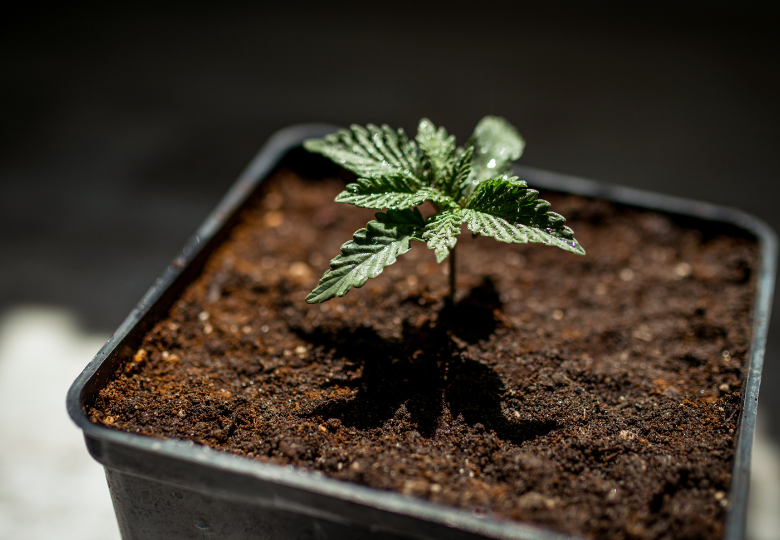
- Leaf count: many growers transplant from a starter plug or small cup once the seedling has developed its first 2–3 sets of true leaves.
Choosing the Right Container Size
Do not jump directly from a seedling plug to a 20-litre final pot. Oversized containers hold too much moisture relative to the plant's water uptake, increasing the risk of overwatering and root rot. A staged approach works best:
- Stage 1: germination plug or 0.1–0.5L solo cup
- Stage 2: 1–2L container
- Stage 3: 5–7L container
- Final container: 11–25L depending on strain and desired plant size
Auto-flowering strains are an exception — they perform best with only one or two transplants at most, as root disturbance can cost precious time in their fixed lifecycle. Many auto growers germinate directly into the final container.
Preparing for the Transplant
Preparation reduces the time the roots are exposed and minimizes stress. Before you begin:
- Water the plant 24 hours before transplanting: moist substrate holds together better than dry substrate when removed from the pot, protecting the root ball.
- Pre-fill the new container: fill the new pot with fresh, lightly moistened substrate. Create a hole in the center the same size as the current root ball.
- Have everything within reach: new container, substrate, water with pH adjusted to 6.0–6.5, and any rooting stimulator you intend to use.
Step-by-Step: How to Transplant
Follow these steps for a clean, low-stress transplant:
- Step 1: Place one hand over the top of the current pot with the plant stem between your fingers. Invert the pot gently and tap the bottom to release the root ball. Do not pull the stem.
- Step 2: Inspect the root ball briefly. Healthy roots are white and firm. Brown or slimy roots indicate a problem that should be addressed before transplanting.
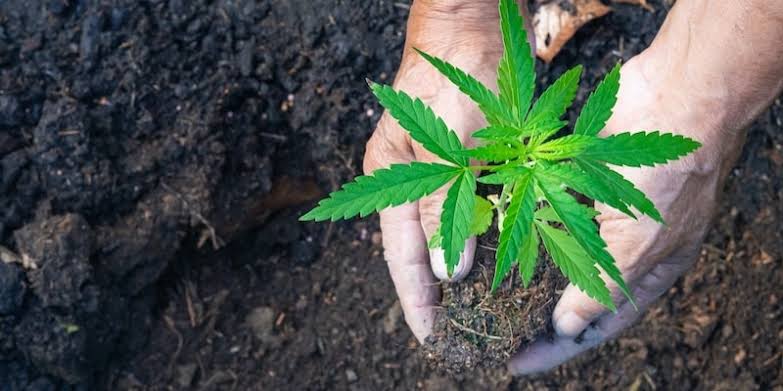
- Step 3: Place the root ball into the pre-dug hole in the new container. The top of the root ball should sit slightly below the rim of the new pot.
- Step 4: Gently fill in around the root ball with fresh substrate. Do not pack it tightly — roots need air pockets to thrive.
- Step 5: Water lightly around the perimeter of the root ball, not directly on top of it. This encourages roots to grow outward into the new substrate.
Using Rooting Stimulators
Rooting stimulators containing mycorrhizal fungi, humic acids, or auxins (such as IBA — indole-3-butyric acid) can significantly reduce transplant shock and accelerate root colonization of the new substrate. Apply them either by dusting the root ball lightly before placing it in the new pot, or by adding them to the first watering after transplant as a root drench. They are not mandatory, but they are a worthwhile investment for growers who transplant frequently.
Post-Transplant Care
The 48–72 hours following a transplant are the most sensitive. During this window:
- Reduce light intensity slightly: less light means less transpiration demand on a root system that is not yet fully established in its new environment.
- Maintain high humidity: 60–70% RH helps the plant retain moisture through its leaves while roots recover. A humidity dome over small transplants is ideal.
- Do not feed: fresh substrate contains enough nutrients for the first week. Adding fertilizer to a stressed plant compounds the stress.
- Watch for wilting: mild drooping in the hours after transplant is normal. If wilting persists beyond 24 hours, check moisture levels and light intensity.
Transplant Shock: Causes and Recovery
Transplant shock manifests as wilting, yellowing of lower leaves, or a sudden pause in growth. It is caused by root damage or stress during the move. To minimize it:
- Never transplant during the hottest part of the day or when lights are at full intensity.
- Work quickly — the less time roots are exposed to air, the better.
- Avoid breaking up the root ball unnecessarily.
Most healthy plants recover from mild transplant shock within 2–4 days. If recovery takes longer than a week, inspect the roots for rot or damage and adjust your watering and environment accordingly.
Transplanting into the Final Container
The last transplant before flowering is the most important. This is where the plant will spend the majority of its life, so getting the substrate mix and drainage right matters more than at any previous stage. Ensure the final container has adequate drainage holes, use a well-aerated substrate appropriate for your feeding style, and consider top-dressing with a slow-release amendment if you are growing organically.
After the final transplant, give the plant 5–10 days to settle into its new container before initiating the flowering photoperiod. This brief recovery window allows the root system to begin colonizing the new space, setting the stage for a vigorous and productive flowering phase.
A well-executed transplant is invisible in the final result — the plant simply keeps growing as if nothing happened. Master this skill and you remove one of the most common causes of setbacks in indoor cultivation.